Scientists from JINR (Dubna, Russia), in collaboration with their colleagues from the Institute of Electronics of the Bulgarian Academy of Sciences (Sofia, Bulgaria) use neutron diffraction methods to evaluate how methods of reconstitution of surveillance specimens change their properties and microstructure. These studies make an important contribution to the surveillance specimen program, which provides monitoring of irradiation-induced changes in reactor pressure vessel (RPV) material properties and enables safety assessment and residual lifetime evaluation of nuclear reactors.
 |
 |
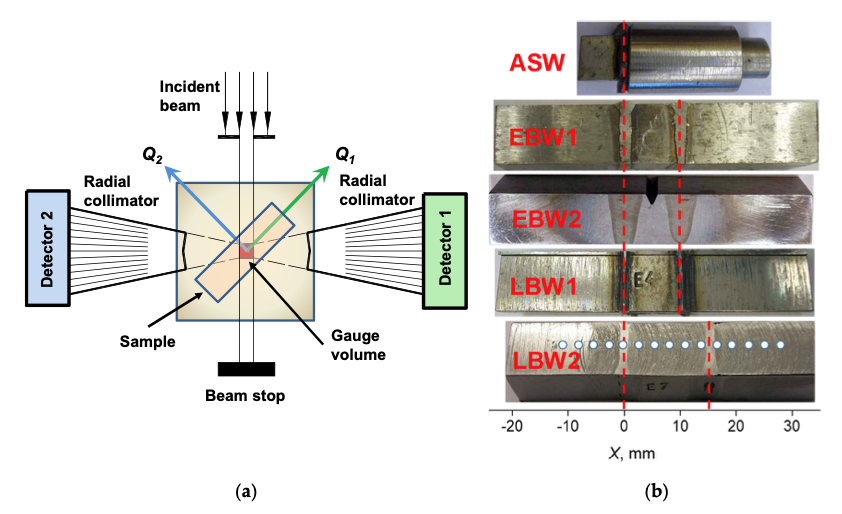
Fig. (a) Scheme of the experiment for residual stress investigation in a bulk sample.
(b) The investigated Charpy specimens reconstituted by various welding techniques.
Surveillance specimens and safety of reactor pressure vessels
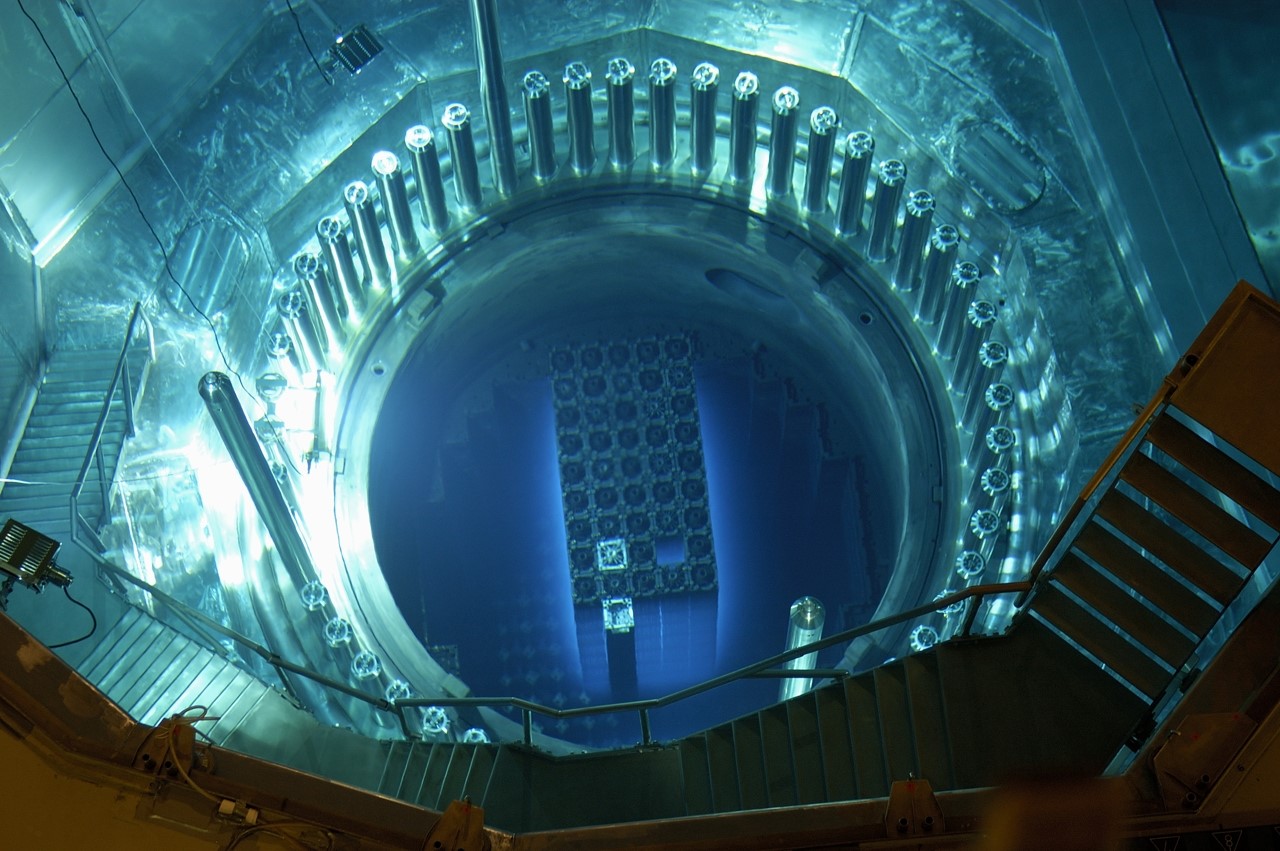
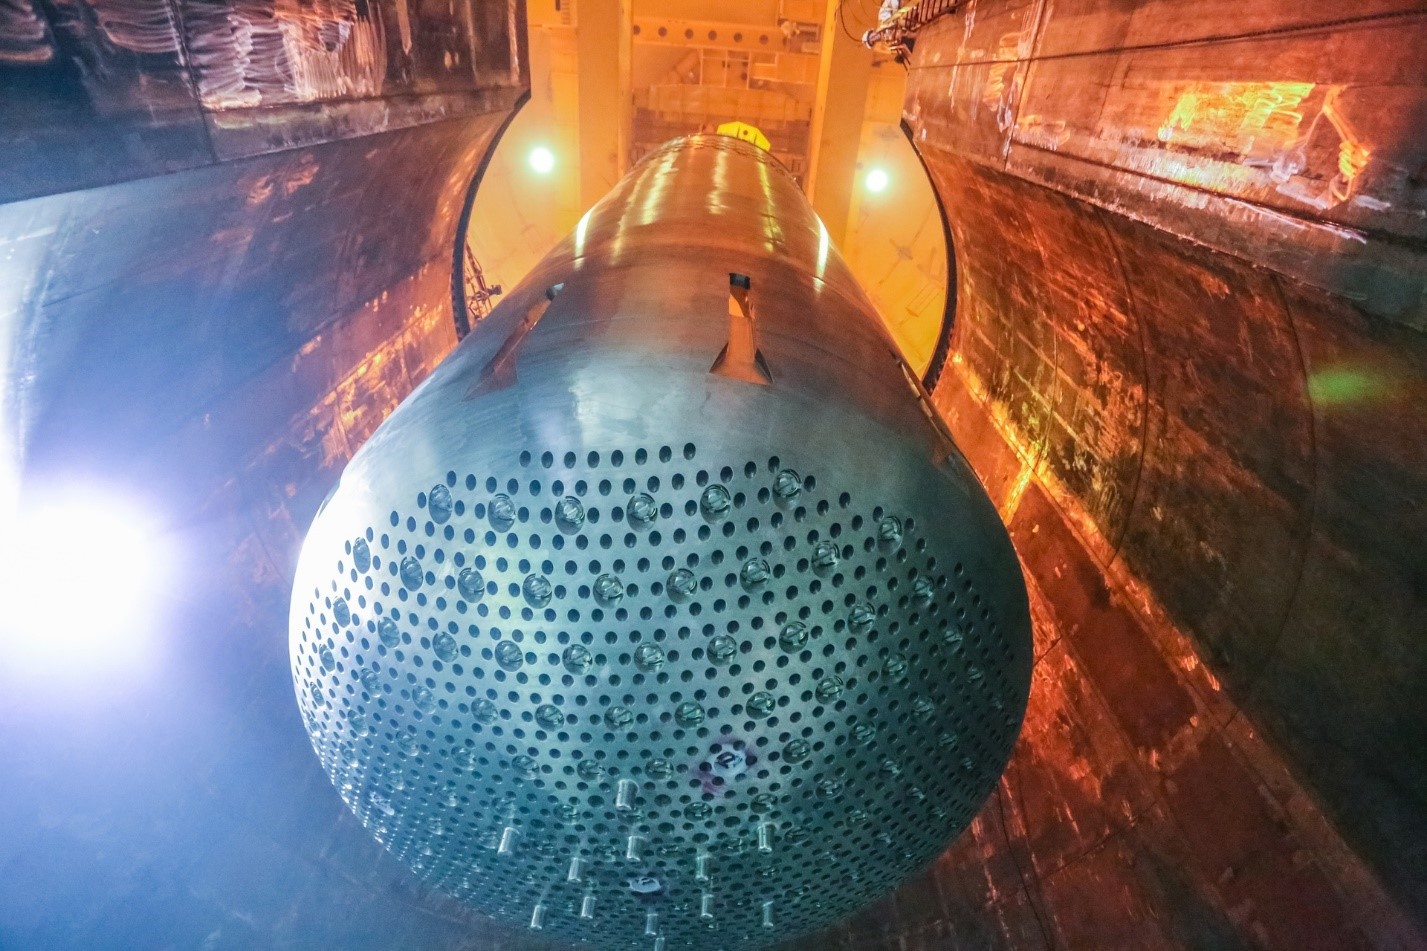
Nuclear power industry has witnessed ups and downs, with some countries abandoning nuclear power and others staking their energy future on it. The bitter experience of nuclear accidents calls for more stringent safety requirements for nuclear reactors. During its operation, the reactor pressure vessel, an expensive and complex construction, is exposed to intense neutron irradiation and high temperatures, which results in the deterioration of RPV steel and severe changes in its physical and mechanical properties manifested mainly as increased brittleness. However, during long-term operation, it is almost impossible to reliably predict the radiation embrittlement of a nuclear reactor pressure vessel, which may consist of various materials and contain impurities.
What happens to the metal of the vessel during the operation of the reactor, how do its properties change, how to prevent deterioration and ensure the design characteristics? To answer these questions, special surveillance specimen programs were launched at all shell-type nuclear reactors in all countries where new nuclear power plants are operating and being built. Changes in the RPV metal condition are monitored using surveillance specimens, which are mounted on the vessel inner wall and made of the same material. The monitoring program defines the number of surveillance specimens, the periodicity of their extraction and testing, the testing method, and how to process data. To characterize the irradiation-induced changes in RPV material and evaluate the radiation embrittlement of the metal, specimens are subjected to the Charpy impact test. Using the results of these tests, the performance of the reactor pressure vessel can be assessed. Thus, the standard surveillance specimen program provides for regular testing of the brittle fracture resistance and, consequently, the serviceability of the reactor pressure vessel, as well as the material testing maintenance of its operation throughout its service life.
In most cases, the results of mechanical tests of surveillance specimens and radiation exposure monitoring data quite often indicate the possibility of extending the lifetime of RPV beyond the projected service life period. Within the framework of the monitoring program, it is necessary to continue testing the surveillance specimens, but most of them are often severely damaged during previous tests. In this regard, the problem of reconstitution of surveillance specimens after mechanical tests using various types of welding techniques becomes especially important. Instead of disposing of tested materials, the specimens are reconstituted using various welding techniques and returned to the reactor for further irradiation to obtain representative and reliable data on the radiation embrittlement of the RPV material. In practice, several techniques are used for reconstitution, such as electric arc welding, electron beam welding, laser beam welding. In order to maintain the representativeness of data and the experimental integrity, the reconstitution procedure by welding techniques should not significantly modify the structure and mechanical properties of the material. In reality, any welding operations lead to structural changes and the formation of residual stresses in the metal, which can change the operational characteristics of products. In fact, in any welding technique, localized energy sources are used to melt the metal, and high temperatures at the welding site and a large temperature difference with neighboring regions lead to deformations and residual stresses in the specimens.
To study how to control the level of these residual stresses, scientists from the Frank Laboratory of Neutron Physics (Dubna, JINR) carry out experiments with surveillance specimens reconstituted by various welding methods (electron beam, laser and arc welding) to assess the probability of cracking in welded joints, determine how the distribution of residual stresses affects the strength of the welded structure, as well as to answer questions related to the problem of dimensional tolerance and deviations of parameters.
Residual stresses and strains: advantages of neutron diffraction
There are various ways of determining residual stresses using numerical techniques and direct experimental measurements (e.g., X-ray, magnetic and ultrasonic methods). However, all these methods have certain limitations. For example, the X-ray diffraction can be used for studying residual stresses only near the material surface due to the small penetration depth. The results from magnetic and ultrasonic methods are significantly affected by the texture of the material.
“The investigation of residual stresses by neutron diffraction has a number of advantages due to the high penetration depth of neutrons (up to 2-3 cm for steels), high spatial resolution, applicability for multiphase materials, the non-destructive character of the method, possibility to characterize the microstructure of materials, and defects (microstrain, sizes of coherently scattering crystallites, dislocation density, etc.). We are studying the distribution of residual stresses and microstrains in unirradiated and reconstituted surveillance specimens using a specialized Fourier stress diffractometer (FSD) at the IBR-2 pulsed fast reactor,” said one of the authors of the study, Gizo Bokuchava, a researcher from the Frank Laboratory of Neutron Physics.
The unique high-resolution diffractometer was designed specifically for measurements of residual stresses in bulk industrial products and new advanced materials. Experimental results obtained using FSD make it possible to evaluate the important microstructural parameters of samples, which largely determine their mechanical properties: crystallite size, number and type of defects, residual stresses, the presence of impurity phases, and crystallographic texture. For example, residual stresses can be determined from the shift of diffraction peaks for the impact-tested sample compared to the initial sample. The analysis of the shape of diffraction peaks and the anisotropy of their broadening provides information about the size of crystallites and crystal lattice strains in them, as well as the dislocation density.
“The analysis of data from experiments with unirradiated surveillance specimens reconstituted by various welding techniques has shown that the lowest level of residual stresses is observed in samples welded by electron beam welding. This is probably due to the lower heat input during this type of welding, which is four to five times less than, for example, in arc welding. It should be noted that the magnitude of residual stresses largely depends on the welding conditions, which allows us to find optimal welding parameters,” emphasized Professor Peter Petrov, Director of the Institute of Electronics of the Bulgarian Academy of Sciences (Sofia, Bulgaria).
At the same time, the specimen welded by electron beam welding exhibits the maximum level of microstrains, which indicates a high dislocation density in the material with an increase by an order of magnitude in the region of welded seams and heat-affected zone. The experiments made it possible to evaluate the change in the microstructure of the specimens, as well as the contribution of various mechanisms that increase the yield strength of the metal in the weld area. As expected, the magnitude of residual stresses decreases sharply with increasing distance from the weld zone. The mechanical characteristics of the base metal and the weld seam differ significantly, which may affect the results of the Charpy impact test carried out within the framework of the surveillance specimen program,“ summed up G. Bokuchava.
The plans of the authors of the study* include further investigations of surveillance specimens using the high-resolution neutron diffractometer, which will make it possible to gain a broader picture and understanding of the nature of the influence of residual stresses and local changes in microstructural parameters on the Charpy impact test results. This knowledge will help to optimize the specimen reconstitution technology, make the necessary corrections in the interpretation of test results and, in the future, improve the quality of reactor pressure vessels, extend their lifetime and ensure safe and reliable operation.
* Bokuchava, G.; Petrov, P. Study of Residual Stresses and Microstructural Changes in Charpy Test Specimens Reconstituted by Various Welding Techniques. Metals 2020, 10, 632. https://doi.org/10.3390/met10050632
Olga Baklitskaya-Kameneva


